
An eLearning template is a collection of screens that have a consistent layout, which can be reused. This refers to the theme colours, the alignment and positioning of the screen objects, the navigation and the overall look and feel of the course.
When we start any eLearning project at Belvista Studios we design an eLearning template. Every template we create is unique and aligns with the branding and requirements of each client. Creating an eLearning template is very advantageous as it provides your client with insight into what their course will look like (prior to spending time on development), it enables you to create a course with a consistent look and feel and it saves you time on future course builds.
In this blog I am going to share with you how we design and create eLearning templates at Belvista Studios.
Colours
Colours are an important part of any eLearning template. They can often be aligned to the client’s company or project branding.
Think about if you were asked to design an eLearning course for KFC, what colour would the course be? If you know KFC, you would be thinking red right? On the other hand, if you were designing a course for Facebook you are more likely to incorporate the colour blue.
When you are requesting theme colours from your client, it is important not to make assumptions and to ask for the exact colours. It is best to obtain the RGB/HEX colour codes, so you know that you are using the exact colours. You don’t want to spend time and effort developing a course, only to find out at the end of development that the client (or their brand guardians in the marketing team) wants to change the colours.
Tip: request the client’s style guide so that you can use it to design a course that aligns to their company branding.
Accessibility
When you are designing your template, it is important to consider accessibility. “In the context of online courses, accessibility means making it possible for all students, regardless of physical or development impairment, to use all course materials and tools” (University of California, 2018). It is good practice to design a course that considers accessibility and it is also important that you find out if your client’s course must meet a minimum standard of accessibility (e.g. A, AA or AAA). The level of accessibility for a course can completely change how you design the template, including the colours that you use, how objects are labelled, how media is displayed and the overall development structure of the course.
Regarding colours, you need to check that they meet requirements for the appropriate level of accessibility. We use a WebAIM Colour Contrast Checker to check colours against the accessibility standards. You can access this colour checker for free here.
If you want to learn more about course accessibility check out this blog on, ‘Five Tips for Implementing Accessibility into Your eLearning’ here.
Screen Design to Master Layout
Once you have figured out the look and feel of your course and you know what will be consistent across each screen, you can add it to the ‘Slide Master’. Check out the examples of completed layouts below.
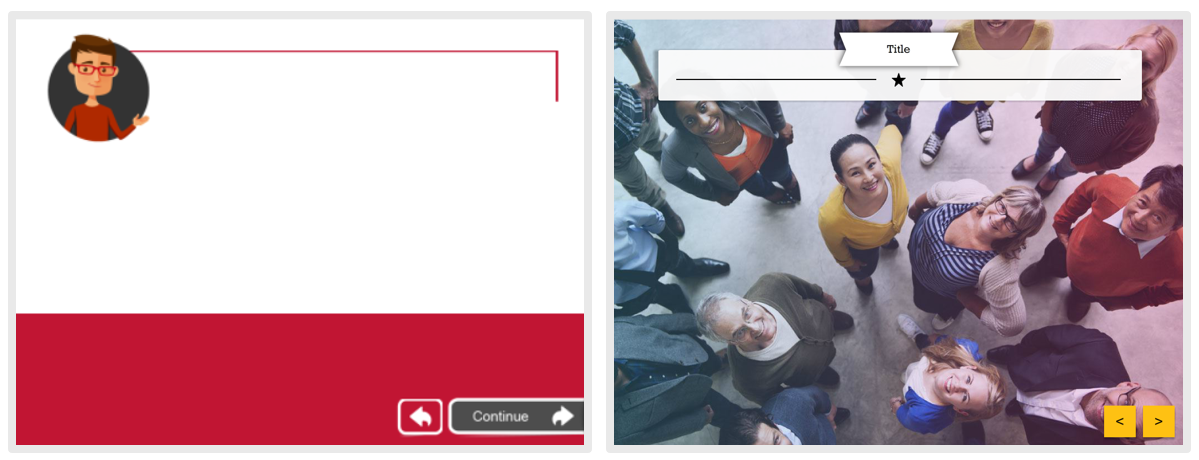
Belvista Studios’ templates based on client style guides.
To access the ‘Slide Master’ click on ‘View’ on the top toolbar and then click ‘Slide Master’.

Accessing the Slide Master.
You can then add your screen layout to a ‘Slide Master’ page by adding the components onto the first blank screen as a ‘Slide Master’.

Creating a Slide Master.
You can also add different ‘Slide Layouts’ to the ‘Slide Master’. For example, you may want to create a title screen layout that is different to the rest of the screens or you might want your video screens to have a different layout. When you create each ‘Slide Master’ or ‘Slide Layout’ ensure that you ‘Rename’ each slide so that you know which layout to use when developing.

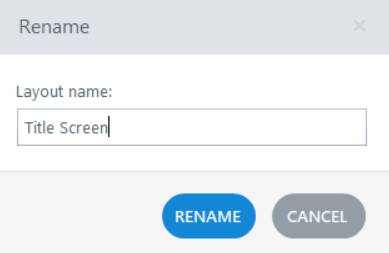
Renaming a Slide Layout.
When you are developing your course, all you need to do is right click on the screen you are working on, click ‘Layout’ and select the layout you would like for that screen for it to automatically add the look and feel you have created. This saves you time as you develop the course. It’s a good idea to set up the font style, font size (headings and body text), colours and generic navigation (e.g. a menu) at the same time.
It is important to note that the 'Master Slide' content sits behind the content that you develop on your screens. It is therefore important that the content that you add to each screen doesn’t cover up the navigation on the ‘Master Slide’.
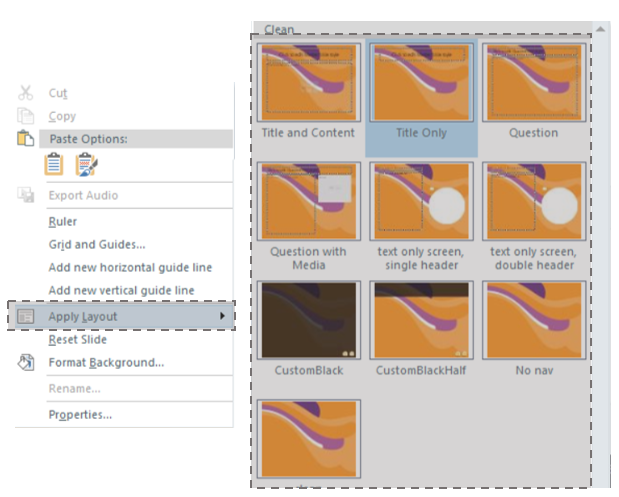
Applying a layout to a screen.
Create Different Screen Types
Once the basis of your template is complete you can start to create a shell of the screens you know you will use when developing. You also do this in the master slides. Common shell screens that we include in our templates are:
- Title screen.
- Text only screen.
- Text and image screen.
- Drag and drop screen.
- Multiple choice question screen.
- Feedback screens.
- Video screen.
Once we have created these screens, we complete a QA to ensure that they are at the right level of quality and are fully functioning across all browsers and devices. Spending the time upfront on these template screens minimises the risk of finding problems during development (which avoids you having to fix each individual screen that you have developed rather than the one template screen).
Before you start developing, it is very important to get the client and any other necessary stakeholders such as the marketing team, to approve the template from a design and functionality perspective in their environment. This means that you provide them with the course SCORM file to test across devices and browsers and that the course marks complete as required. This lowers the risk of the client advising you during one of your development feedback rounds or even during the user acceptance testing stages that the template isn’t working. If this happens you are at risk of a complete rebuild. Take the time required to get the template right and get the client to confirm and approve that it is working as required prior to developing.
It is extremely important that you save this development file as your ‘template version’ and begin developing your course using another version of that file. This means that if you need to create another course for the client, you can jump straight into the template and get started.
I hope that this blog on creating templates in Articulate Storyline added value to you. Do you create eLearning templates and if so, what does your process look like?
References
University of California. (2018). Accessibility for Online Courses. Retrieved from https://canvas.ucdavis.edu/courses/34528/pages/accessibility-for-online-courses


0 Comments
We'd love to hear from you. Send us a message and connect!
Emoji