
This makes me think about the impact that cartoon characters and a good story line can have on engagement and memory.
Can we use this same concept for our learning solutions?
In my opinion, we can, given that it is designed with the right intent, in an engaging way and that it allows the learner to obtain the learning objectives.
We have been creating animations to support our learning solutions for quite some time now and we have learnt a lot along the way. This has inspired me to write this blog and share with you the ins and outs of animation for learning.
When you think of animation creation, you could be imagining super smart computer whizzes with some artistic flair spending hours creating one scene. I’ve got good news, there are programs available that make this process a lot easier, which means anyone can create an animation. What’s important to us, is how that animation is designed.
At Belvista Studios we use a program called GoAnimate that makes creating animations easier than ever. Whilst I will be sharing these tips from my knowledge of GoAnimate (now Vyond), the learning will be useful for creating animations for learning in general.
Here are some considerations for creating an effective animation:
1. Will the Content Benefit from being Visual?
There is a very important step that needs to happen prior to the animation being designed and created and that is deciding if an animation should be created at all.
When I first started as an instructional designer, I was so excited by the concept and novelty of animations that I often wanted to create an animation for as many concepts as possible. I learnt over time that this was not always effective and I was missing a very important step. This step was taking the time to analyse the content and decide if the end-user would benefit from it being created in a visual format.
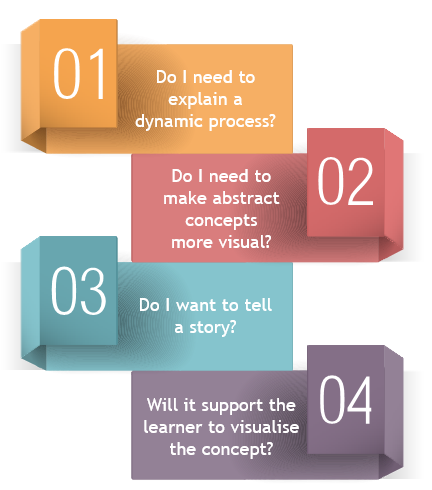
To analyse your content and decide if an animation would be effective, try asking yourself questions of this nature. It is important to not make an animation for the sake of it, think about what value it can bring to your learner and then make a decision!
2. Meeting the Learning Objectives
Once you know what content you want to transform into an animation you can get started.
Analyse your content and become clear on what the intent of the content is. What knowledge or feelings should your learner have when they have completed watching the animation. For example, if you have content on ‘running an effective coaching session’, what knowledge will the learner require? List the actions and behaviours that you want the learner to obtain from the learning. For example:
- Demonstrate open body language.
- Follow the company coaching session structure.
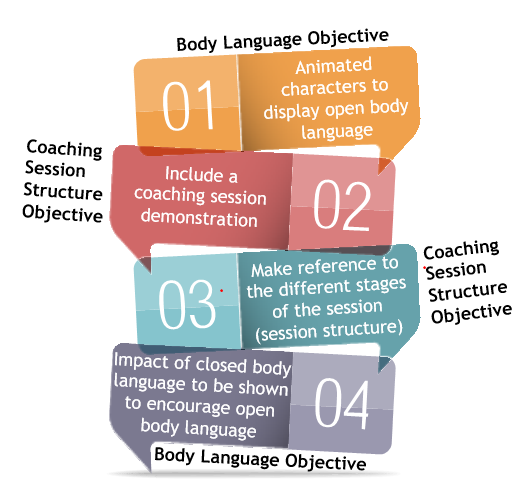
If these were your two objectives, you can begin to think about how you could design the animation to teach your learner both of those things.
Check out the example below as to how you could alter your design to meet those objectives.
3. The Rough Plan
Everyone does this differently, though what works for us at Belvista Studios is to create a rough plan (note: rough!) of what we would like the animation to look like prior to developing it.
When I first started designing animations I wanted to have a full storyboard created so that I could jump in and save time by following a structured plan. Whilst this sounds good in theory, we learnt that this wasn’t the most effective way to do it. Animation programs, and particularly Go Animate, have pre-created assets ready for you to insert into your animation. This is awesome because it saves time, however, it means that you don’t have an infinite library of assets.
I want you to imagine that you have created a detailed storyboard of a house burning down for a Fire Brigade learning solution. You jump into the animation program, storyboard in hand, ready to develop. The first scene is of the house burning down so you look through the assets and insert a house on screen. You then look for fire to depict the house burning. You come to the realisation that there is no fire asset. You can imagine the impact that this would have on your storyboard. In this case you would probably have to re-create the storyboard (and hold back tears from thinking about the time you wasted on creating the initial one).
If you have a concept you want to depict through animation, write down some potential options and then jump into the animation program to see what is possible. I have often had new ideas while I have been in the program that have enabled me to create an even greater solution.
If you are designing for a client and need to approve a final storyboard for an animation, check that there are assets available to achieve what you need to prior to setting expectations with them.
That’s all for this blog on creating animations for learning. We would love to see or hear about the animations that you have created for your learning solutions. Where have you seen animations used effectively in the learning world? I hope this blog added value to your craft and ‘get animating!’.


0 Comments
We'd love to hear from you. Send us a message and connect!
Emoji